Red Hat Enterprise Linux 7 | STEP BY STEP QUICK INSTALLATION GUIDE
In this Tutorial, I am going to show you how to install RHEL 7 step by step.
How to download RHEL 7 Installation DVD?
Here I am going to show you how to download RHEL 7 from its official website.... Read More.
Installation process step by step
Now I am going to describe you the simple procedure to install Red Hat Enterprise Linux 7 using bootable USB drive and VMware Workstation.
before start installation we require
Bootable media. or RHEL 7 iso file.
Configure VMware.
After booting the installation USB drive / RHEL 7 iso file:
Select the first option "Install Red Hat Enterprise Linux" in the boot menu and press Enter.

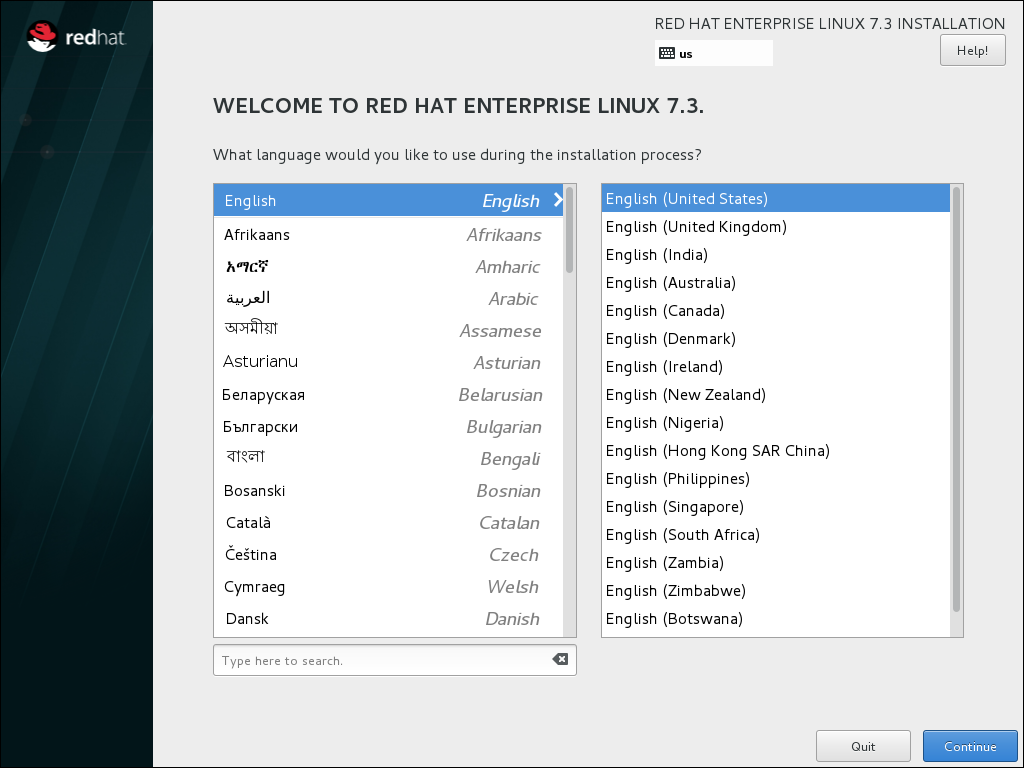
After Anaconda, the Red Hat Enterprise Linux installer started, select your language and region, and click Continue.
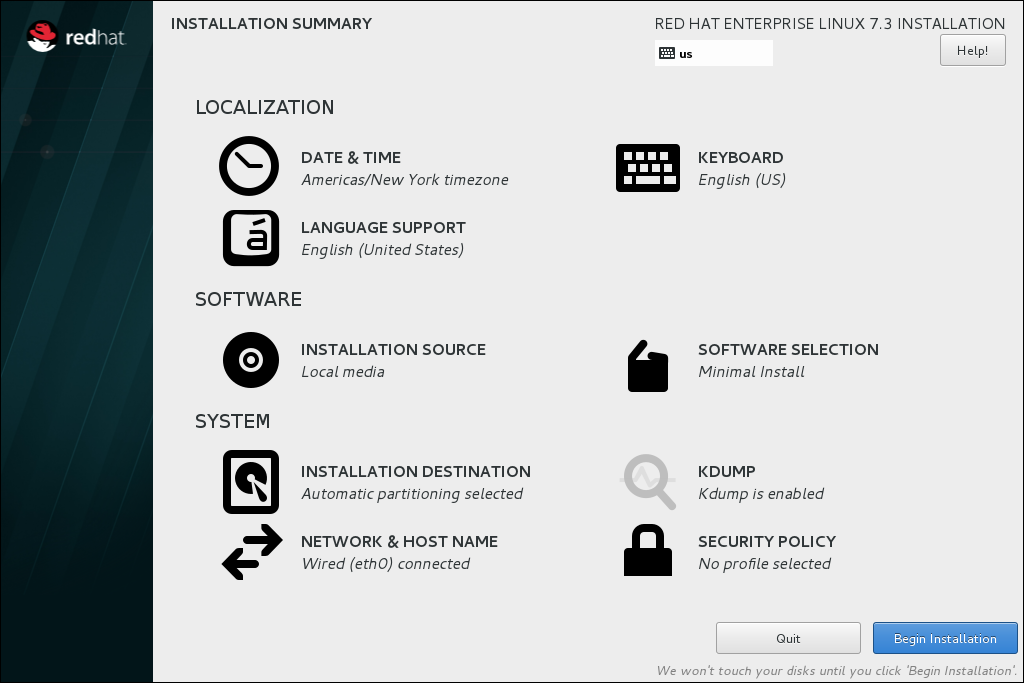
In Installation Summary screen you will find configuration options:
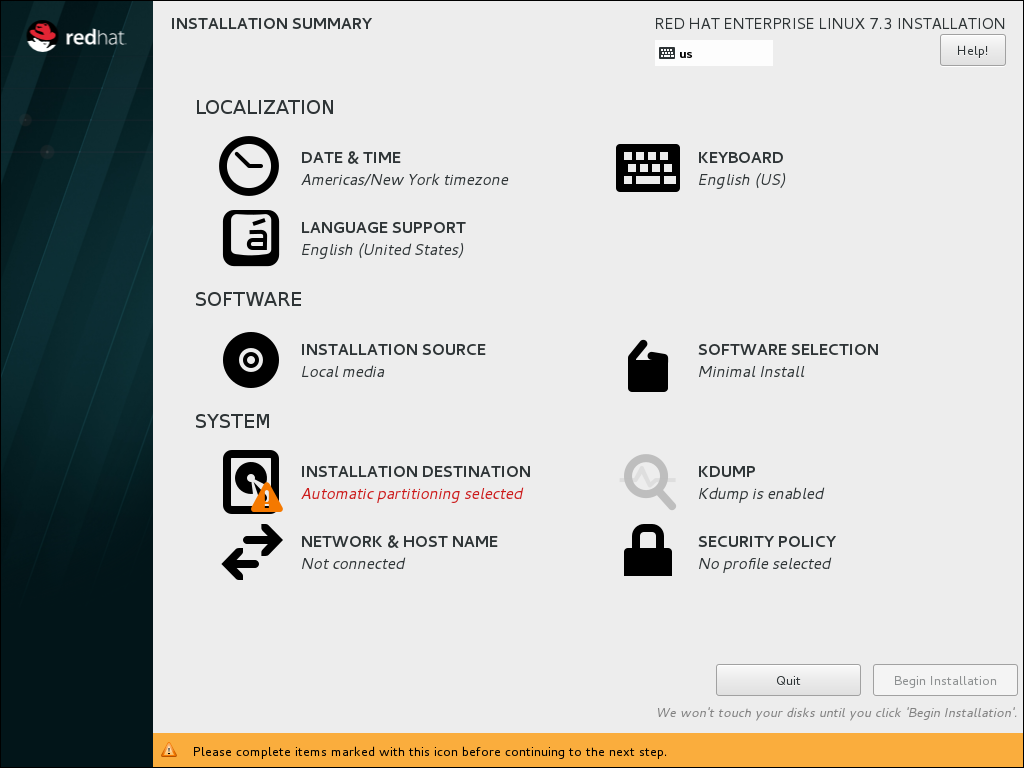
Then set your region and the nearest city in your time zone.
Click Done to return to the Installation Summary.

Select Keyboard Layout:
Use the + and - buttons to add and remove keyboard layouts.
I suggest, let it untouched.

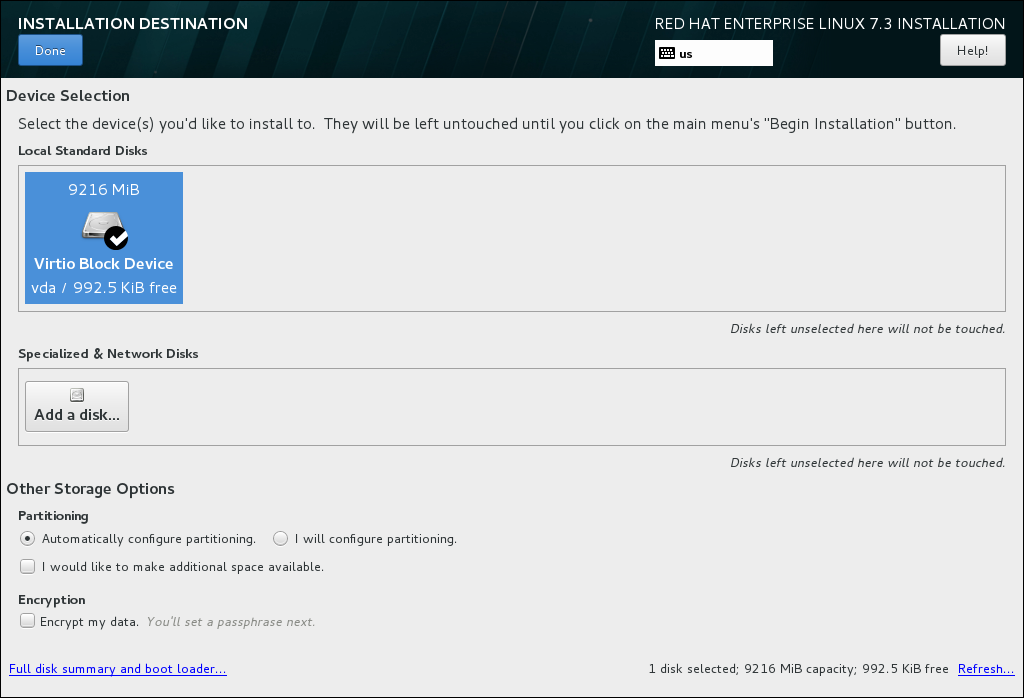
Select Installation Destination:
Select the target disk. A check mark is displayed next to the selected target.
There are two option,
One is 'Automatically configure partitioning' that's mean system will itself configure file system. Choose this option if you don't know much about Linux file system and new to it.
Second, 'I will configure partitioning, that's you can manually configure the file system.
I preferred the second option with the following partition
/boot : 250MB
/ : 20GB
/home: 2GB
swap: 4GB (note: better to allocate the amount double of your RAM amount.)
Click Done to return to the Installation Summary.
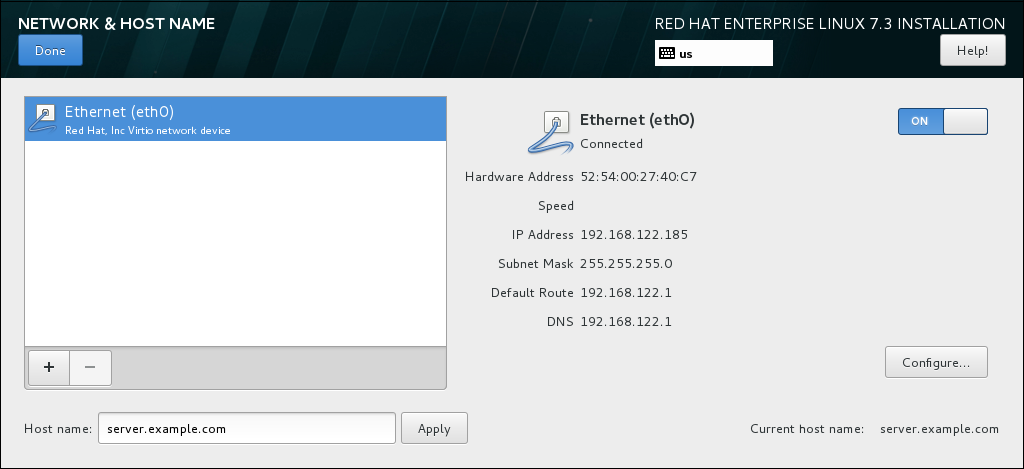
Select Network and Hostname:
Leave it with default option, we will configure later.
Leave it with default option, we will configure later.
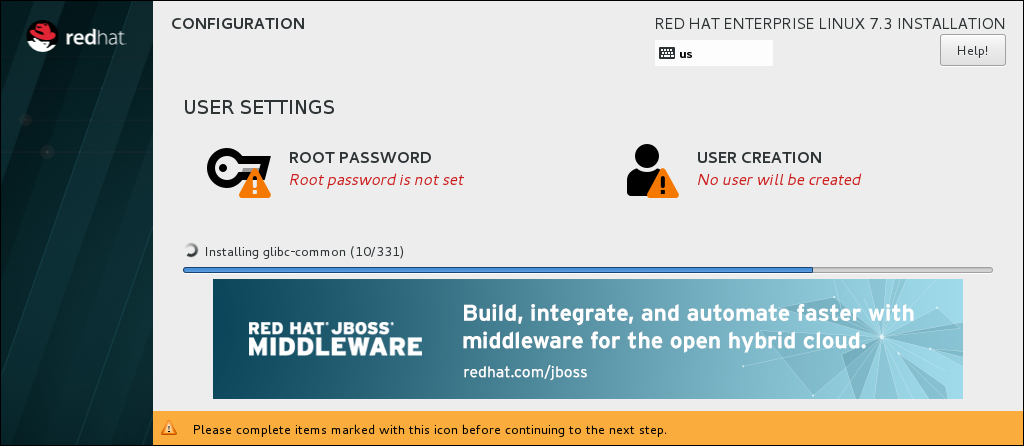
During the installation, Root password and user creation option will appear.
Select Root Password
Enter the password for the root user and confirm it.
Click Done and return to the Configuration screen.
Select Root Password
Enter the password for the root user and confirm it.
Click Done and return to the Configuration screen.

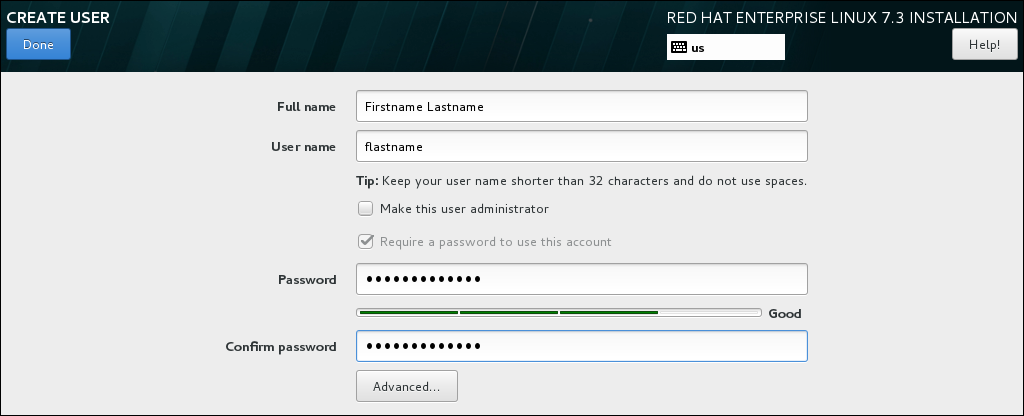
Now select User Creation:
Enter the user's full name as per your choice and update the automatically generated username.
Set the password and confirm it.
Click Done to return to the Configuration screen.
Enter the user's full name as per your choice and update the automatically generated username.
Set the password and confirm it.
Click Done to return to the Configuration screen.
Wait until the installation completes and click Reboot.
After the installed system has been started:
If you installed the server using the Server with GUI based environment, the Initial Setup application is started automatically:
Accept the license agreement.
Register the system.

Comments
Post a Comment